Wednesday, May 11, 2011

Growing Hippeastrum from Seeds

052511 ~

A few changes today....another root from the seeds in soil.

Roots are getting long in the seeds in water.  If you double-click on the picture then you can see the seed in the middle has a root that is getting longer.....its too light colored to see in this smaller picture.


052311 ~  the seeds in water are from a Lemon Lime pod that aborted early....i was able to dig out a few seeds. 

The floating seeds are finally starting to show some promise!  I have 2 that have teeny tiny roots poking out.  There was a third, but i had to throw it out...it seemed to have mold or something on it.  You will probably have to double click the picture to actually see the sprout...it is very tiny!


052011 ~  the seeds in soil are a lot of mixed amaryllis seeds that i purchased on ebay.

What a wonderful surprise to wake up to this morning.....one root has started sprouting in the seeds sown in soil.  I was really expecting a couple more weeks before I saw any changes.  Still no change on the floaters....


051111 ~

This will be our first experiment with planting Hippeastrum seeds....wish us luck :)

After your Hippeastrum blooms, your flower will wither away and die and a seed pod will begin to form behind drying up flower...... if the flower was pollinated.   Let the bloom fall off naturally. 

Over a period of time the seed pod will grow larger and begin looking something like this:

(Double-click on the picture to enlarge)


The seed pod will start turning a brownish yellow color and get thinner and eventually start to open.  This particular seed pod had a broken stalk and aborted.  We decided to go ahead and open it up to see if there were any formed seeds.  Luckily, there were a few brown paper thin seeds in the pod.


The brown layer is a protective layer for the actual seed inside (if you look close you can see a small lump in the middle).   The brown shell is a protective layer for the seed and it also helps carry the seed in the wind if the pod is left alone.


Before you try to germinate the seed you will need to let the seeds dry out for at least a few days and up to one year.  The longer you wait to germinate the seeds the less viable they are.  The seeds pictured above have already been dried out.  These seeds are very light and will be picked up by the wind easily....so we handled them indoors.  Tweezers will also help out while handling the seeds.  

There are two ways that you can try to make the seed grow.  One is in soil and the other is to float the seed in water.   

We decided to float these in water.  We partially filled the container up with lukewarm water and carefully placed the seeds on the top of the water.


At this point....we are going to change the water daily.  We found that if you place a paper towel over the bowl and turn it over in the sink the water will  drain and the seeds will stick to the paper towel.  After refilling the bowl with lukewarm water, you can use tweezers to place the seeds back into the water.

051311~  Seeds still floating...look the same, added water one time.

to be continued.........

051311 ~

Growing Hippeastrum seeds in soil is another method commonly used.  The seeds we are using now were purchased from Ebay as a mixed variety Amaryllis.  We are using seed starting soil and a small plastic container.  We put some holes in the bottom of the plastic container and placed the seed starting soil inside.  The seeds were carefully placed onto the top of the soil.  I am keeping the soil moist by misting water regularly on the seeds.  I have heard that seeds are easily rotted by keeping them too wet....so i just check them periodically to make sure they are not too dried out.  I keep a lid on the container and keep them outside in a small greenhouse.

Both seed containers were started a couple days apart.   Hopefully, soon we will see some sprouts...this may take a couple of weeks. 


~052911  

The largest Charisma seems to be getting ready.....the other two pods have withered away....

~051311   More seeds possible .....Below are a few pods that we have starting now...

Charisma:
 Charisma:
Liberty:


Monday, May 9, 2011

Ladybug planters

050911 ~

These ladybug planters were too adorable not to buy!
They are very tiny .....i didn't measure but the pots are only like 1 1/2 in or 2 inches....no bigger.  The flowers that were inside the pots when i bought them were all dried up...so I just pulled those out and planted my own bulb!

Each one has a tiny Hippie bulb inside. 

Saturday, May 7, 2011

Directions for potting your Hippeastrums

050711~

Wanted to share the steps that my husband and I have taken to plant an indoor outdoor Hippeastrum in a clay pot.  You can choose any kind of pot..it does not have to be clay.  However, size does matter!  

Here are the 3 Hippies that we potted today.  Lemon Lime, Clown and Unknown.


After reading many articles we decided to go with this method....and here are our starting tools which will be explained as we go.


Step one:  Choosing our pot ~    We went with a clay pot that is 7 inches in diameter and 6 inches tall.  All of our bulbs are mature size bulbs and this will give them between 1 and 2 inches from the rim of the pot...which is what you want.  We chose this depth to give our roots plenty of room and to be able to grow snuggly in the pot.  We chose smooth rocks for the bottom of the pot to help weight the pot down for a top heavy flower and also to help with drainage.  The rocks were rinsed thoroughly and placed in the pot about an inch deep. 


Step two: Inspecting the bulb ~ At this point we are making sure that we have a healthy bulb without bruising, discolorations, signs of rot or disease. 


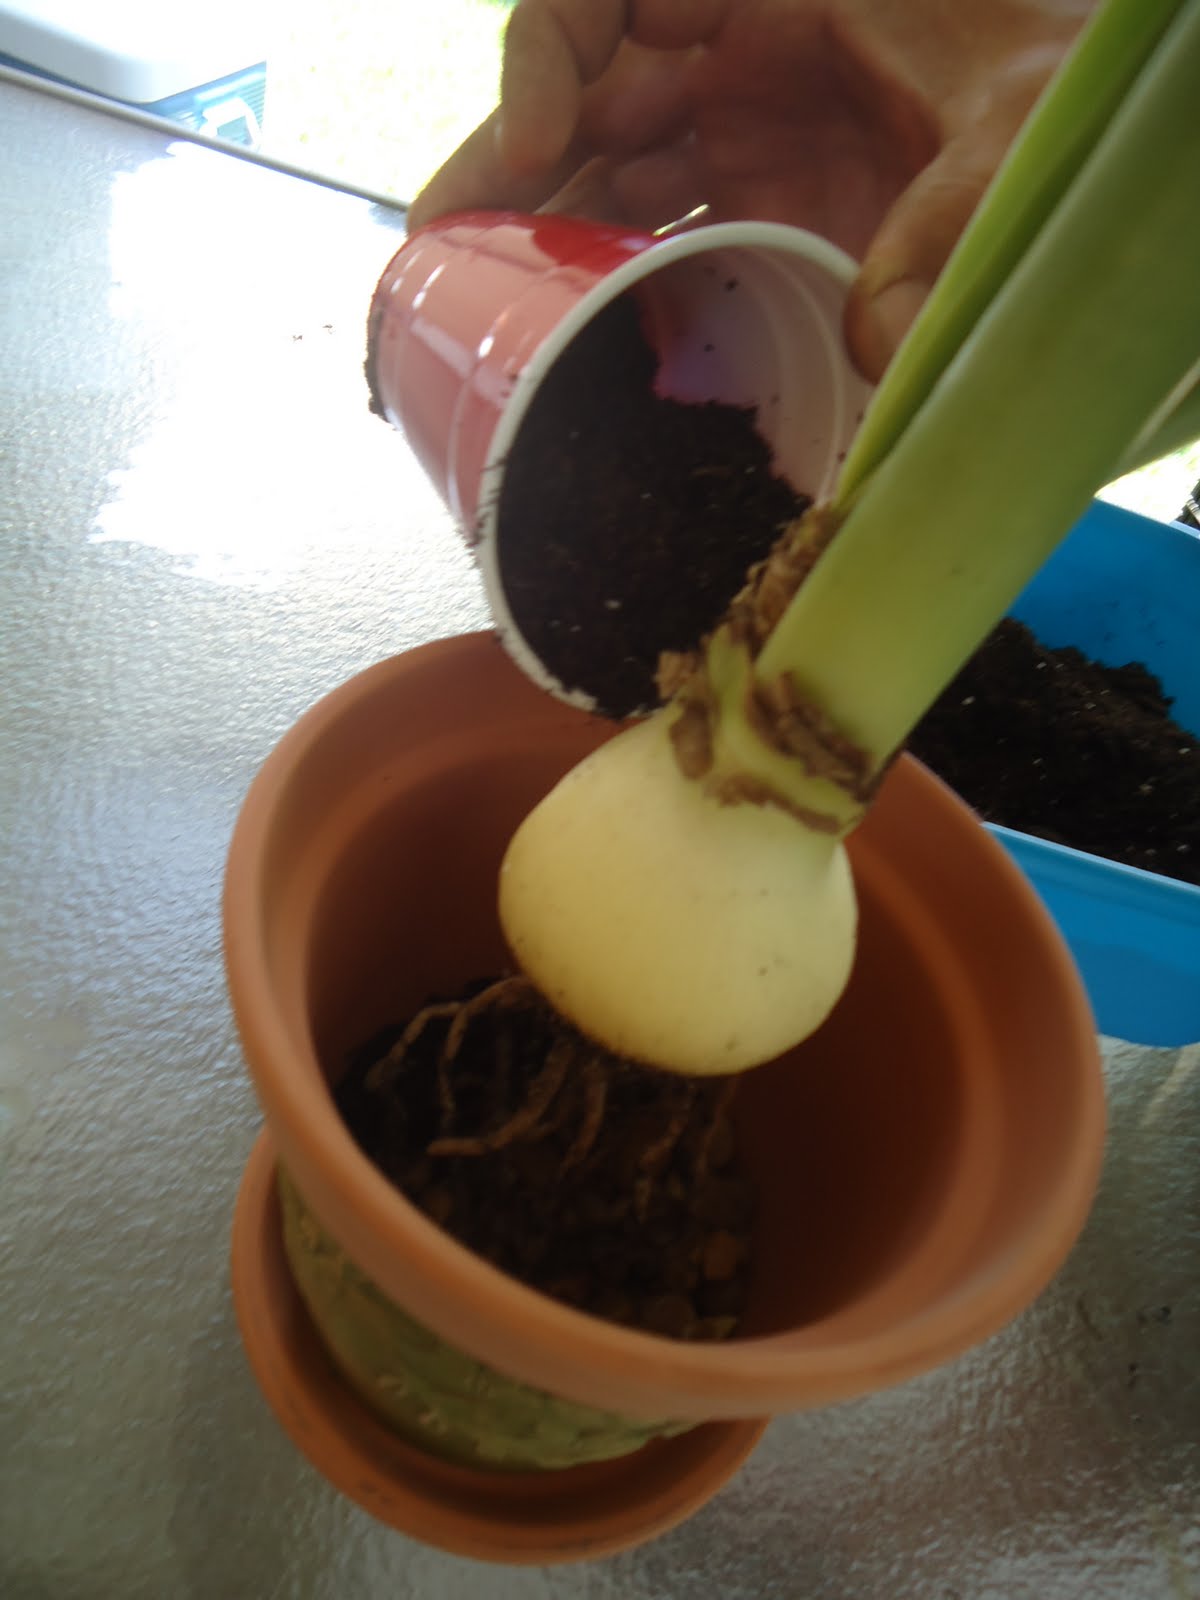
Step three:  Potting the bulb.  Place the bulb in the pot in an upright position just above where you want the bulb to sit in the pot.  Allow the roots to dangle straight down to the bottom of the pot.  While still holding the bulb add a good draining potting mix around the bulb  letting the soil rise to the bulb.  Once in place set the bulb in the soil and press lightly to secure the bulb.  Then gently compact the soil around the bulb making sure the bulb has a good secure fit.  At this point you can add a little more soil around the bulb leaving about an inch from the top for watering.  Make sure the top half of the bulb is on top of the soil. 


Step four:  Display your newly potted plant ~  Dust off the excess soil and enjoy!


Now that you are finished ......you can give it a tiny drink of water...water closer to the edges....making sure that no water gets inside the bulb.  Many people lose there Hippeastrums by giving them too much water and causing bulb rot.   Only re-water when the 1st couple of inches of soil become dry.  Water only to moisten the soil...not to get wet.  Using a good draining potting soil is a must. 

Please feel free to comment below with any suggestions or tips...we would love to hear them.

Joe and Sandra :)

Thursday, May 5, 2011

Unidentified Hippeastrum ~ Any help appreciated!!

050811~

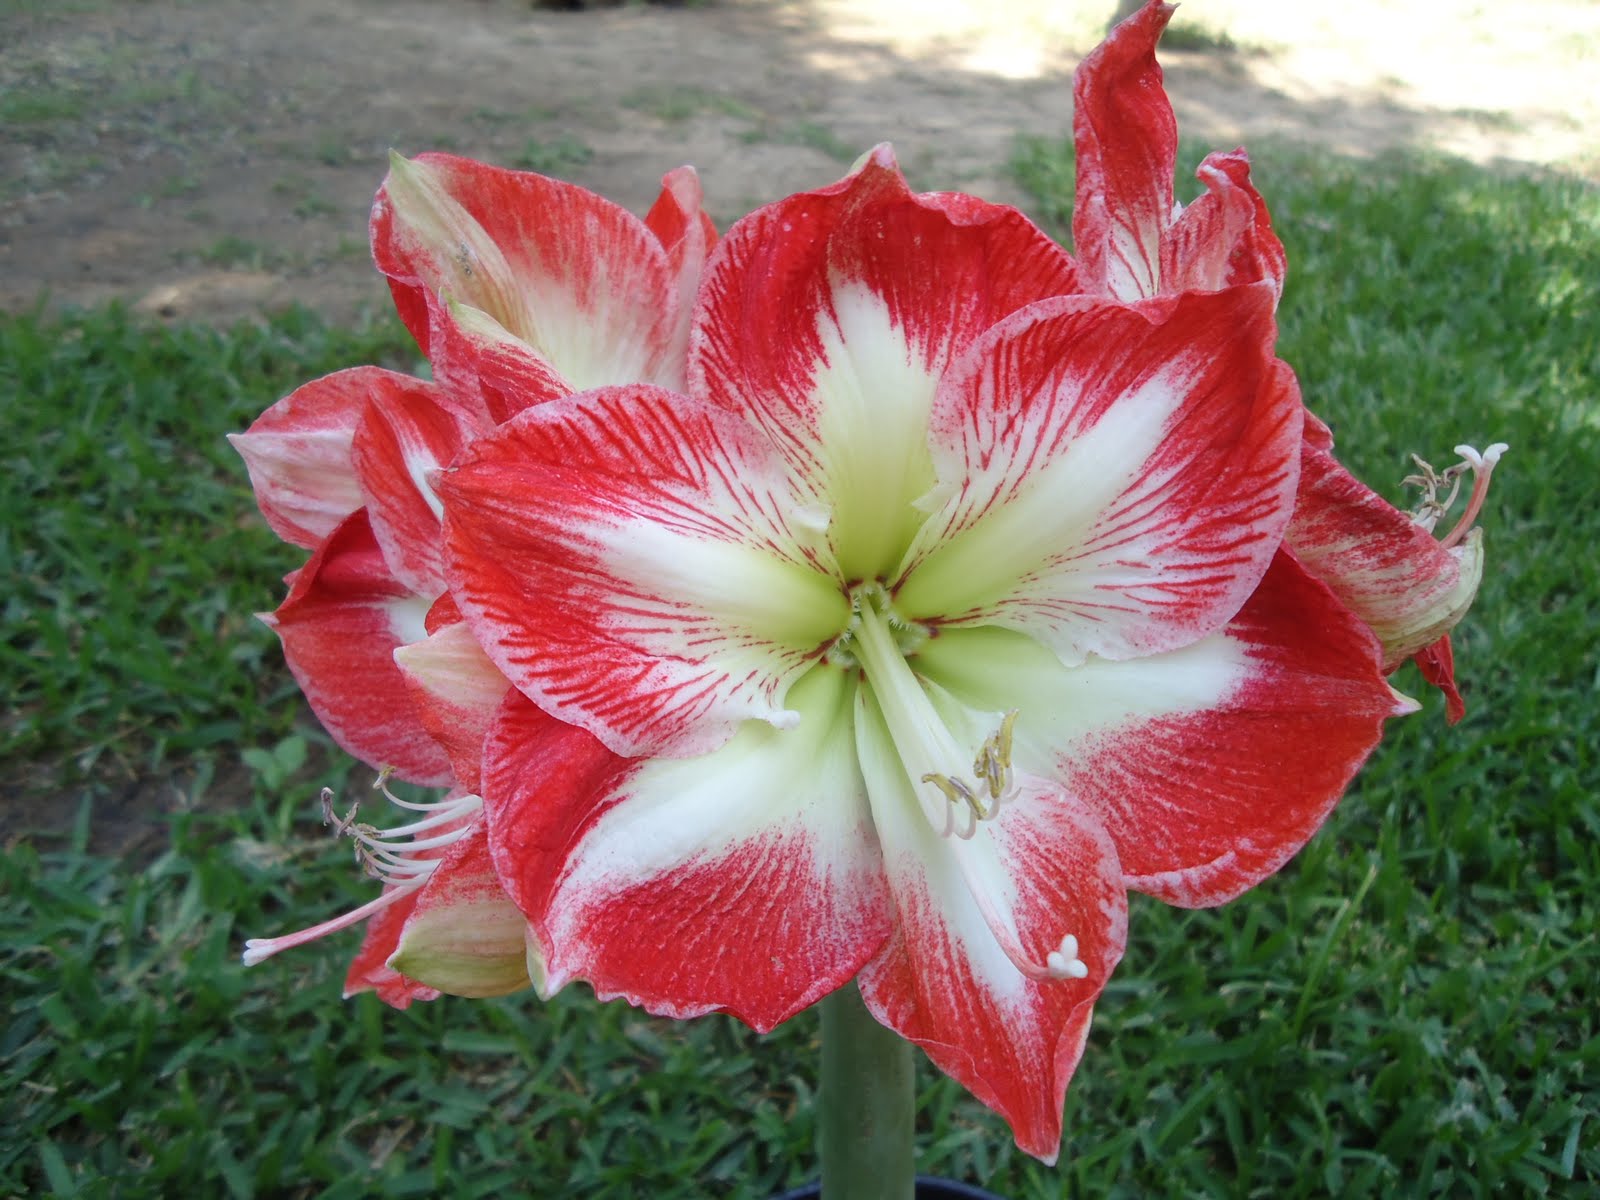
Double-click to enlarge the picture.....Hope to find out what she is called...


I am still looking for a correct ID ...


Measurements:
Flower scape is 11 inches
Petal is 5 inches
Bulb size 21 cm

Here is a view the inside:


050611~

Here is a better picture today... I love this one...if you look closely you can see the sparklies!


050511 ~

I purchased several untagged Hippeastrums and one did bloom for me today!!   I would appreciate any help identifying it!   Click to enlarge the photo !


Thanks,
Sandra :)

Hippeastrum Aphrodite

050511 ~

Here is one of our H. Aphrodite bulbs that we repotted today.  I think it will be next year before we see and can take some good pictures of our Aphrodite blooms.....so looking forward to it!  She is one beautiful flower.   This one particular bulb is 23 cm and she has 4 leaves growing that will take in sunlight and get her prepared from her next bloom next spring!! 

Tuesday, May 3, 2011

Planting Hippeastrum Bulbs

You can grow your Hippeastrums from either bulbs or seeds...this is how you start with a bulb....


When you plant a mature bulb, you want to make sure the roots are not dry.  Soak the roots only on the top of a jar without getting the bulb wet (if the bulb gets too wet it will cause bulb rot) for up to 24 hours.  You can plant the bulbs outside or inside depending on the hardiness of that particular Hippeastrum and the planting zone that you are in.
   
Planting bulbs outside:  Make sure you put them in an area where the soil has good drainage.  We usually put some bone meal with the bulbs.  Dig a hole large enough to get the roots into the hole, place the bulb inside the hole and cover the bulb with soil leaving the top portion of the bulb out of the ground.  Water just a little bit.  If the bulbs get to wet it will cause bulb rot.
Planting bulbs indoors:  You can also pot the plant and bring it indoors when the temperature is too cool.  If you pot the plant make sure that there is no more than an inch or two between the bulb and the outside of the pot.....if there is too much room the bulb might not bloom.  Also, make sure the top of the bulb is not covered in soil....you want the upper portion of the bulb uncovered.   Do not overwater...if you  place about an inch gravel on the bottom of the pot it will help with drainage.  Keep it in a nice sunny spot and watch it grow!!  You can place the pot outside in a nice sunny area and bring it in when the temperatures are too cold.

A mature Hippeastrum will have little bublets grow off the mother bulb that can be separated and planted.  It will take 2-3 years for the bublet to grow into a mature plant that will produce flowers and reproduce.

There are a couple of different ways to plant Hippeastrums from seeds....one in soil and the other using a floatation method in water.  This area is something that we are just learning and I hope soon to post our learning experience as we go through the process.

Saturday, April 30, 2011

Hippeastrum Royal Velvet

043011

This year when i purchased the Royal Velvet bulbs...they were already bloomed (as seen in the lower picture).

I didn't get any really gr8 pictures because the blossoms were already fading, but it looks like I may end up with some seed pods (crossing fingers :)

The Royal Velvet petals actually feel like your fingers are running across Velvet...they are nice thick sturdy petals.   I am very excited about seeing them next year!

Wish us some luck!!


Below was taken on 042711

Thursday, April 28, 2011

Hippeastrum Apple Blossom

052311 ~

Both blooms turned out just a tiny bit different!  


052011 ~
This is an Apple Blossom that someone grew from seed.  I was really surprised to see a bloom this year....the leaves had been cut back so that it could be mailed to me and no sooner than it was in the soil a bloom started.  I cannot wait to see what it looks like!  It has a very tall scape and it is an extra large bulb.


I just love how the coloring fades from top to bottom in this little Hippie!


Hippeastrum Fairy Tale

I bought a few Aphrodite bulbs and when one of them bloomed it was a pleasant surprise to find this cute little Hippie....Fairy Tale! I think this fall I am going to bring her inside and keep her as a potted plant!


Top view:

Hippeastrum Johnsonii

051311~

These are the roots on two Johnsonii that we just sent out recently.  One measures 22 cm and the other 23 cm.


050311~

The H. Johnsonii.....aka/St. Joseph's Lily or Hardy Amaryllis...... blooms during the springtime.....it is thought to be one of the first hybrids from H.Reginae x H. Vittatum.  Arthur Johnson produced this hybrid between 1799 and 1810 in England.  The Johnsonii is the hardiest of all the other hybrids (from 0 to 10 degrees F).  It has been an outdoor plant for me the past 11 years in zone 8a.  It is suppose to be hardy in zones 7-12.  It can be planted in sunny or partially shaded areas and is deer tolerant.  In cooler zones, people will plant the Hippeastrums in pots.  

The Johnsonii can be fertilized by its own pollen.  After the blossoms die a seed pod will form.  If you wait until the seed pod starts turning yellowish brown you can collect the seeds and dry them out.  The seeds can be stored up to a year, but the longer you store them the less viable they become. 

042811~

My original Hippy.....Hippeastrum Johnsonii....A gorgeous red bell shaped flower with white center stripes and a green throat...one large Johnsonii bulb can have up to 4 flower stalks that are 1-2 feet tall and you will get about 4-6 flowers on each stalk......I am going to attempt collecting and germinating the seeds this year for the 1st time....wish me lots of luck!
~San


This 2nd picture was taken last April....